On github look for the newest version (v4.2.0++) Releases of component
Attention: Actually (2021.09.01) the repository for the J4x version is on https://github.com/RSGallery2/RSGallery2_J4
[ ] ToDo: Update when merged Inside the assets you will find a zip file with a name like RSGallery2_Component_5_x_x.zip. Download and install the newest zip file matching this name and a newer version number RSGallery2 is installed like all other Joomla! extensions. Log in to the Administrator section then follow: (1) Select "System" (2) Select "Extensions" The drag and drop area is marked with dotted border (1) Drag and drop your selected zip file into (2) Dotted border area After click on the Control panel button the Control Panel of the RSGallery2 appearsInstallation
1. Download the main RSGallery2 component
2. Install RSGallery2 component

3. Upload Package file by using drag and drop

4. Result after component installation

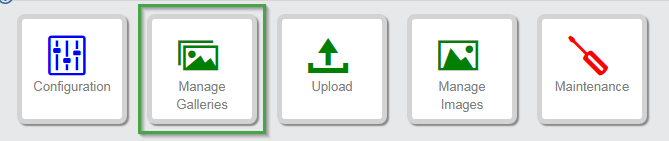
Three steps are needed to display galleriesFirst steps
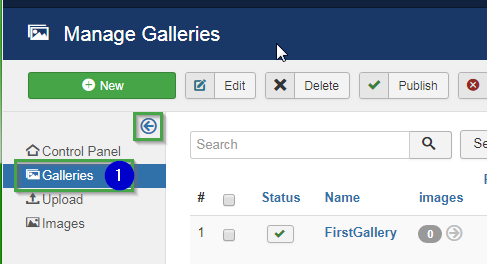
In control panel select "Manage Galleries" Use new to start a new gallery (1) Add a name Following gallery list view appears with new gallery on topFirst steps 1. Create a gallery


(2) Create the gallery with click on "Save and Close"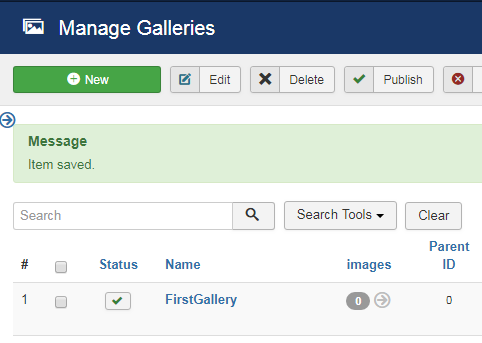
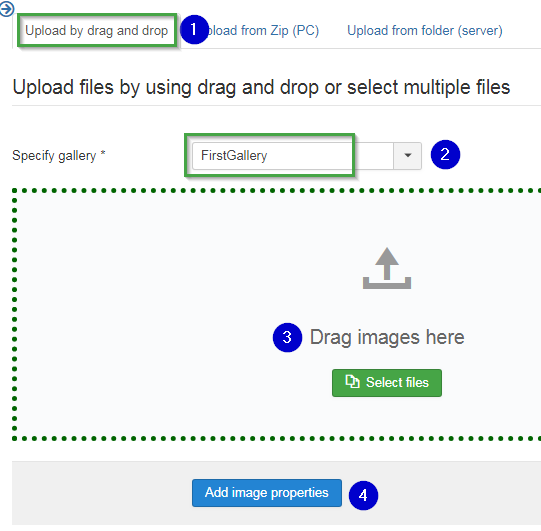
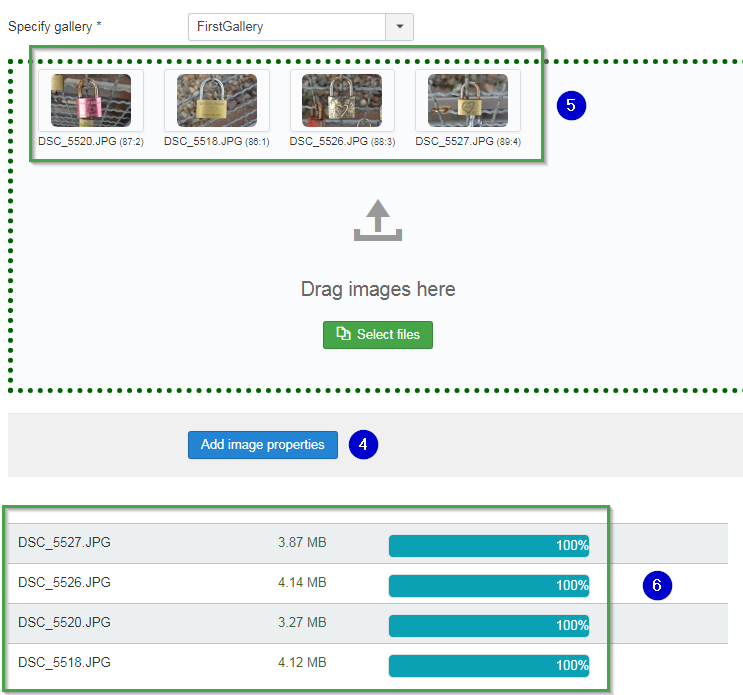
[ ] ToDo: fill out see: RSGallery2_Project\Documentation\J!3x\getStarted\04.UploadImages.md bilder + ?text anpassen? a) Prepare 4 small images (example each image < 1MB) Select Upload in Control panel or in sidebar Sidebar: Resulting form:First steps 2. Upload images
Select upload form
Upload files
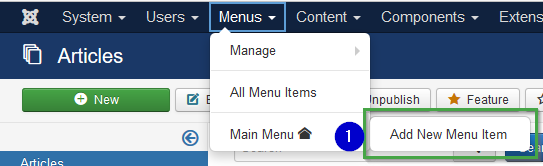
[ ] ToDo: Update front end images when ready (1) Select Menus -> Main menu and use "Add new Menu Item" (1) Add menu name Following image will appear (1) Click on Rsgallery2 to open the two possible menu types provided by RSGallery2 The click leads back to a changed menu item definition (1) Choose Gallery from (partly hidden) list Number of shown galleries can be predefined in the configuration The appearsrance of Random images and latest images can be predefined in the configuration When images are assigned to a gallery the gallery is represented by a image inside the gallery. This can be a random image or a selected one. The setting can be assigned inside the edit view of the gallery.First steps 3. Create a menu to view galleries
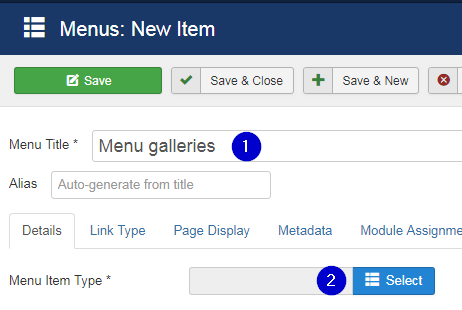
(2) Click on select button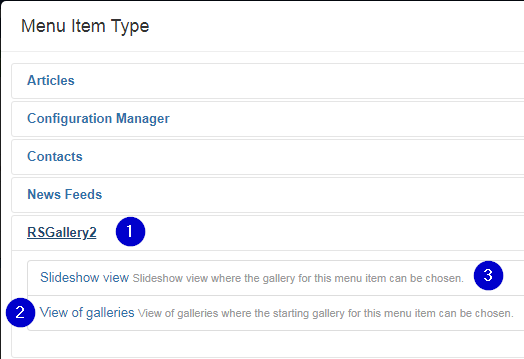
(2) Click on view of galleries to assign a gallery view to the Menu
(3) Click on Slideshow to assign a slide show to the Menu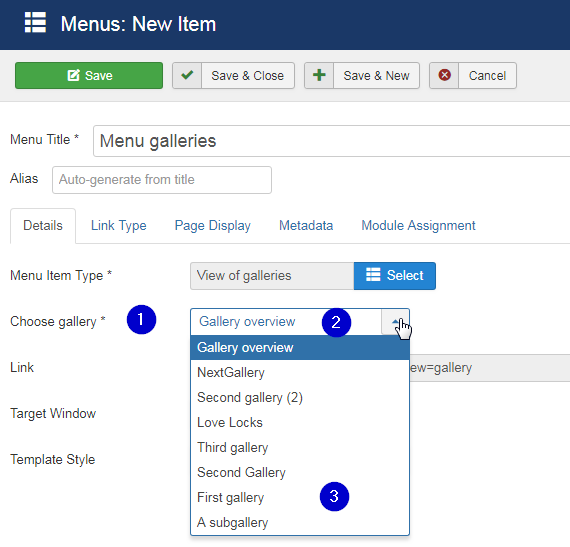
Select either a single gallery or a gallery overview
(2) Gallery overview
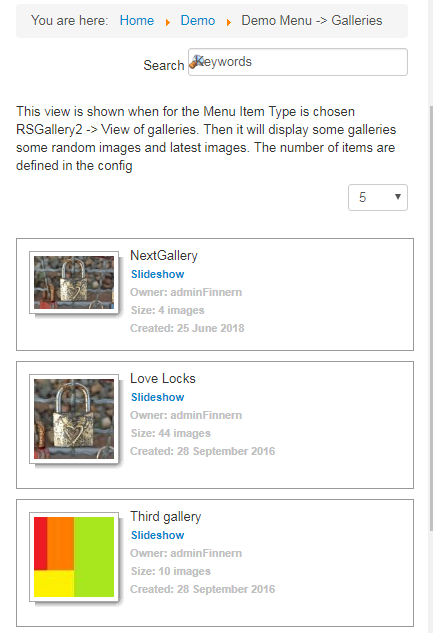
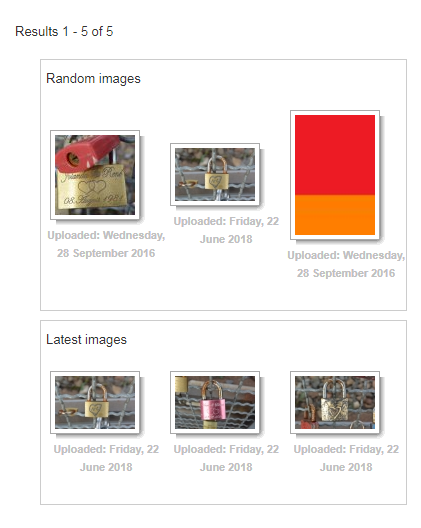
Selecting "Gallery overview" item shows a set of galleries to the user. Depending on the configuration definitions there may additional images list displayed like "latest images"
(3) Select an single gallery
Then only this gallery is shown when the user selects this menuMenu user view example
Hint: Representing gallery image
[ ] ToDo: different type of links, fill out see: RSGallery2_Project\Documentation\J!3x\getStarted\06.NextSteps.md (Needs completion first)
[ ] ToDo: Update when front end ready !!! following is not ready !!! You may look up and install following modules to include random images, latest images or a complete gallery into an articleNext steps: